
I found this XL Merona tee at the Goodwill for $2. Recently, I've been very drawn to yellow and stripes, so this one caught my eye. At first, I figured I would just take it in and at least have a new cheap tee. After I tried it on though, I realized I also didn't like the neckline very much. So, either I could just change the shape and put some bias tape over it, or do something fun with it. I looked online and gathered some inspiration:
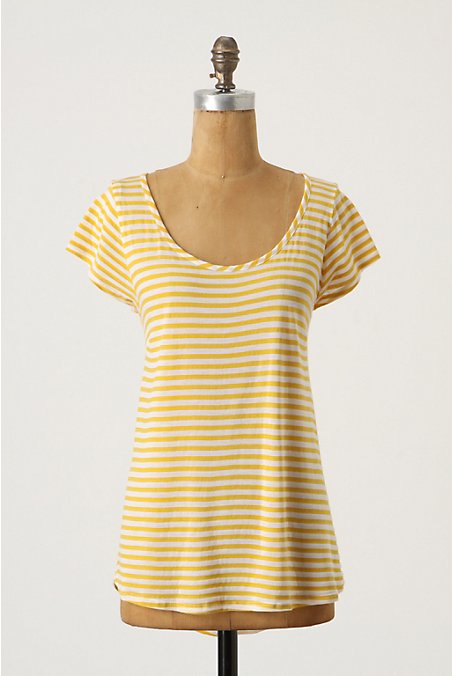 |
| source |
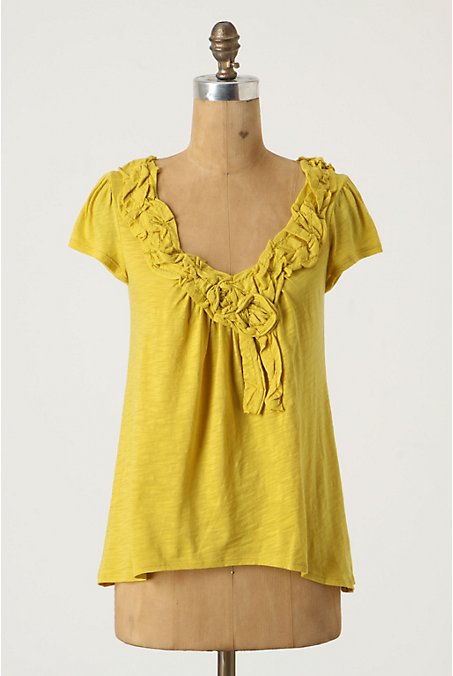
 |
| source |
 |
| source |
 |
| source |
I ended up cutting a scoop neck line (ended up being a little low cut, but I'm used to wearing tanks underneath everything anyway), and making little "flower petals" out of the scraps and an old yellow sheet I had.
Here's the finished product:


This was an easy project to complete in an evening. I think it would've gone quicker, except that I spent so much time changing my mind over how I wanted it to look! Do this when you're in a very creative and patient mood. Here's a quick how-to:
1. cut the shape of your neckline. I added some bias tape to the back of the neckline from shoulder to shoulder, planning on covering up the ends with the embellishment.

2. start making your petals! I took a piece of cloth,

folded it into quarters and placed my template (aka whatever jar I had lying around) on top and traced it.

then I took my circles and folded them in half...


...and then into quarters. Don't fold it perfectly. Kind of skew it to the side a little.

I made each one a little different to add some texture. You can even fold the end back to get a skinnier one like this:

3. After you've made a bunch of these, get your pins out and start layering them on your tee the way you want. NOTE: make sure they don't extend too high above your neckline, or it will flop down due to the weight. The top of your embellishment should just barely extend past.

Once you have them all on there, sew it down! I just top stitched with a light beige around the parameter, and then went up and down through the middle to make sure they were all pinned down. This will give it more of a scrunched look. If you want it to stay more puffy, you might want to tack it down by hand with invisible thread.

So thrilled to have a new spring shirt for only $2 and a little bit of time!
hmm...what else can I bring some yellow into...?


.jpg)


7 comments:
LOVE this shirt.
I'm drawn to projects that are quick, and cheap! SOOOO i'm starting a linky party on Tuesdays for projects that are less than $10 and take less than 20-30 mins (give or take) and hoped you would link in! http://sweetfloweret.blogspot.com
It's the first one and i'm not sure how many link ups I'll get, but I think people will check in for cheap and easy ideas! Thanks for considering!
Nice job on a pretty, updated shirt! Love it!
Such a cute redo!! Love all the refashions in blogland lately!
Thank you, ladies!
I'm not a fan of yellow but I like the design you made with it :) Very Cute!
This is so cute!
A very sweet refashion! Love the embellishments :-)
Post a Comment